
PEAK OF TEIDE WITHOUT PERMIT
Once upon a time, a friend of mine came with an idea to visit Tenerife, one of the Canary Islands. Being stranded home for over a year thanks to COVID-19 pandemics, I have booked the plane ticket without a hesitation, leaving all worries, plans, and worries about plans behind. To be utterly honest, when booking the ticket, I did not even know where the islands are, let alone what Tenerife has to offer.
Getting there
The easiest part of the trip was the flight – by low cost airline Easyjet, direct connection from Berlin. Everything went smoothly, taking into account that the travel happened during COVID-19 pandemics. And yes, it was mandatory to have a PCR test, but no one bothered to check them. Tenerife was created by volcanic activity that took place around 20 million years ago, therefore most of its landscape is very unique – resembling that of Mars.
Teides’ Location
About Teide
Mount Teide is an active volcano located on Canary island Tenerife. With 3718 meters above the sea level, it is the highest mountain of Spain (which the Canary Islands are part of).

View of Teide From Plane
Sight to behold
Not even there yet, I have already noticed an iconic Teide summit from the plane window. The first thing that came to my mind was: “I have to climb it!”. So, I started to google information about how to reach the peak, when, to my disappointment, I stumbled upon bad news, that in order to climb to the peak of Teide, it is necessary to make a booking a couple months prior to the climb. Oh snap! Well, I did not let this bummer stop me. You might be lucky and find the spot though, here is the official website for registration.
What to pack
✓comfortable ankle boots, ✓light jacket, ✓tracking pants, ✓torch/light, ✓snack, ✓beer, ✓water
Little trick
I did a little research and found out that park rangers are checking permits only from 9am to 6pm, which gave me a window of opportunity to climb to the peak outside those hours. Unfortunately, there was no public transport after 4pm. As it goes, I am a man of luck and have met a fellow traveler at the hostel I was staying in – Valentin from Switzerland, who had a car and liked my idea of climbing to the summit. Equipped with just a light summer jacket, tracking pants, running shoes, headlight, camera and 1 beer for summit, we embarked on the journey.
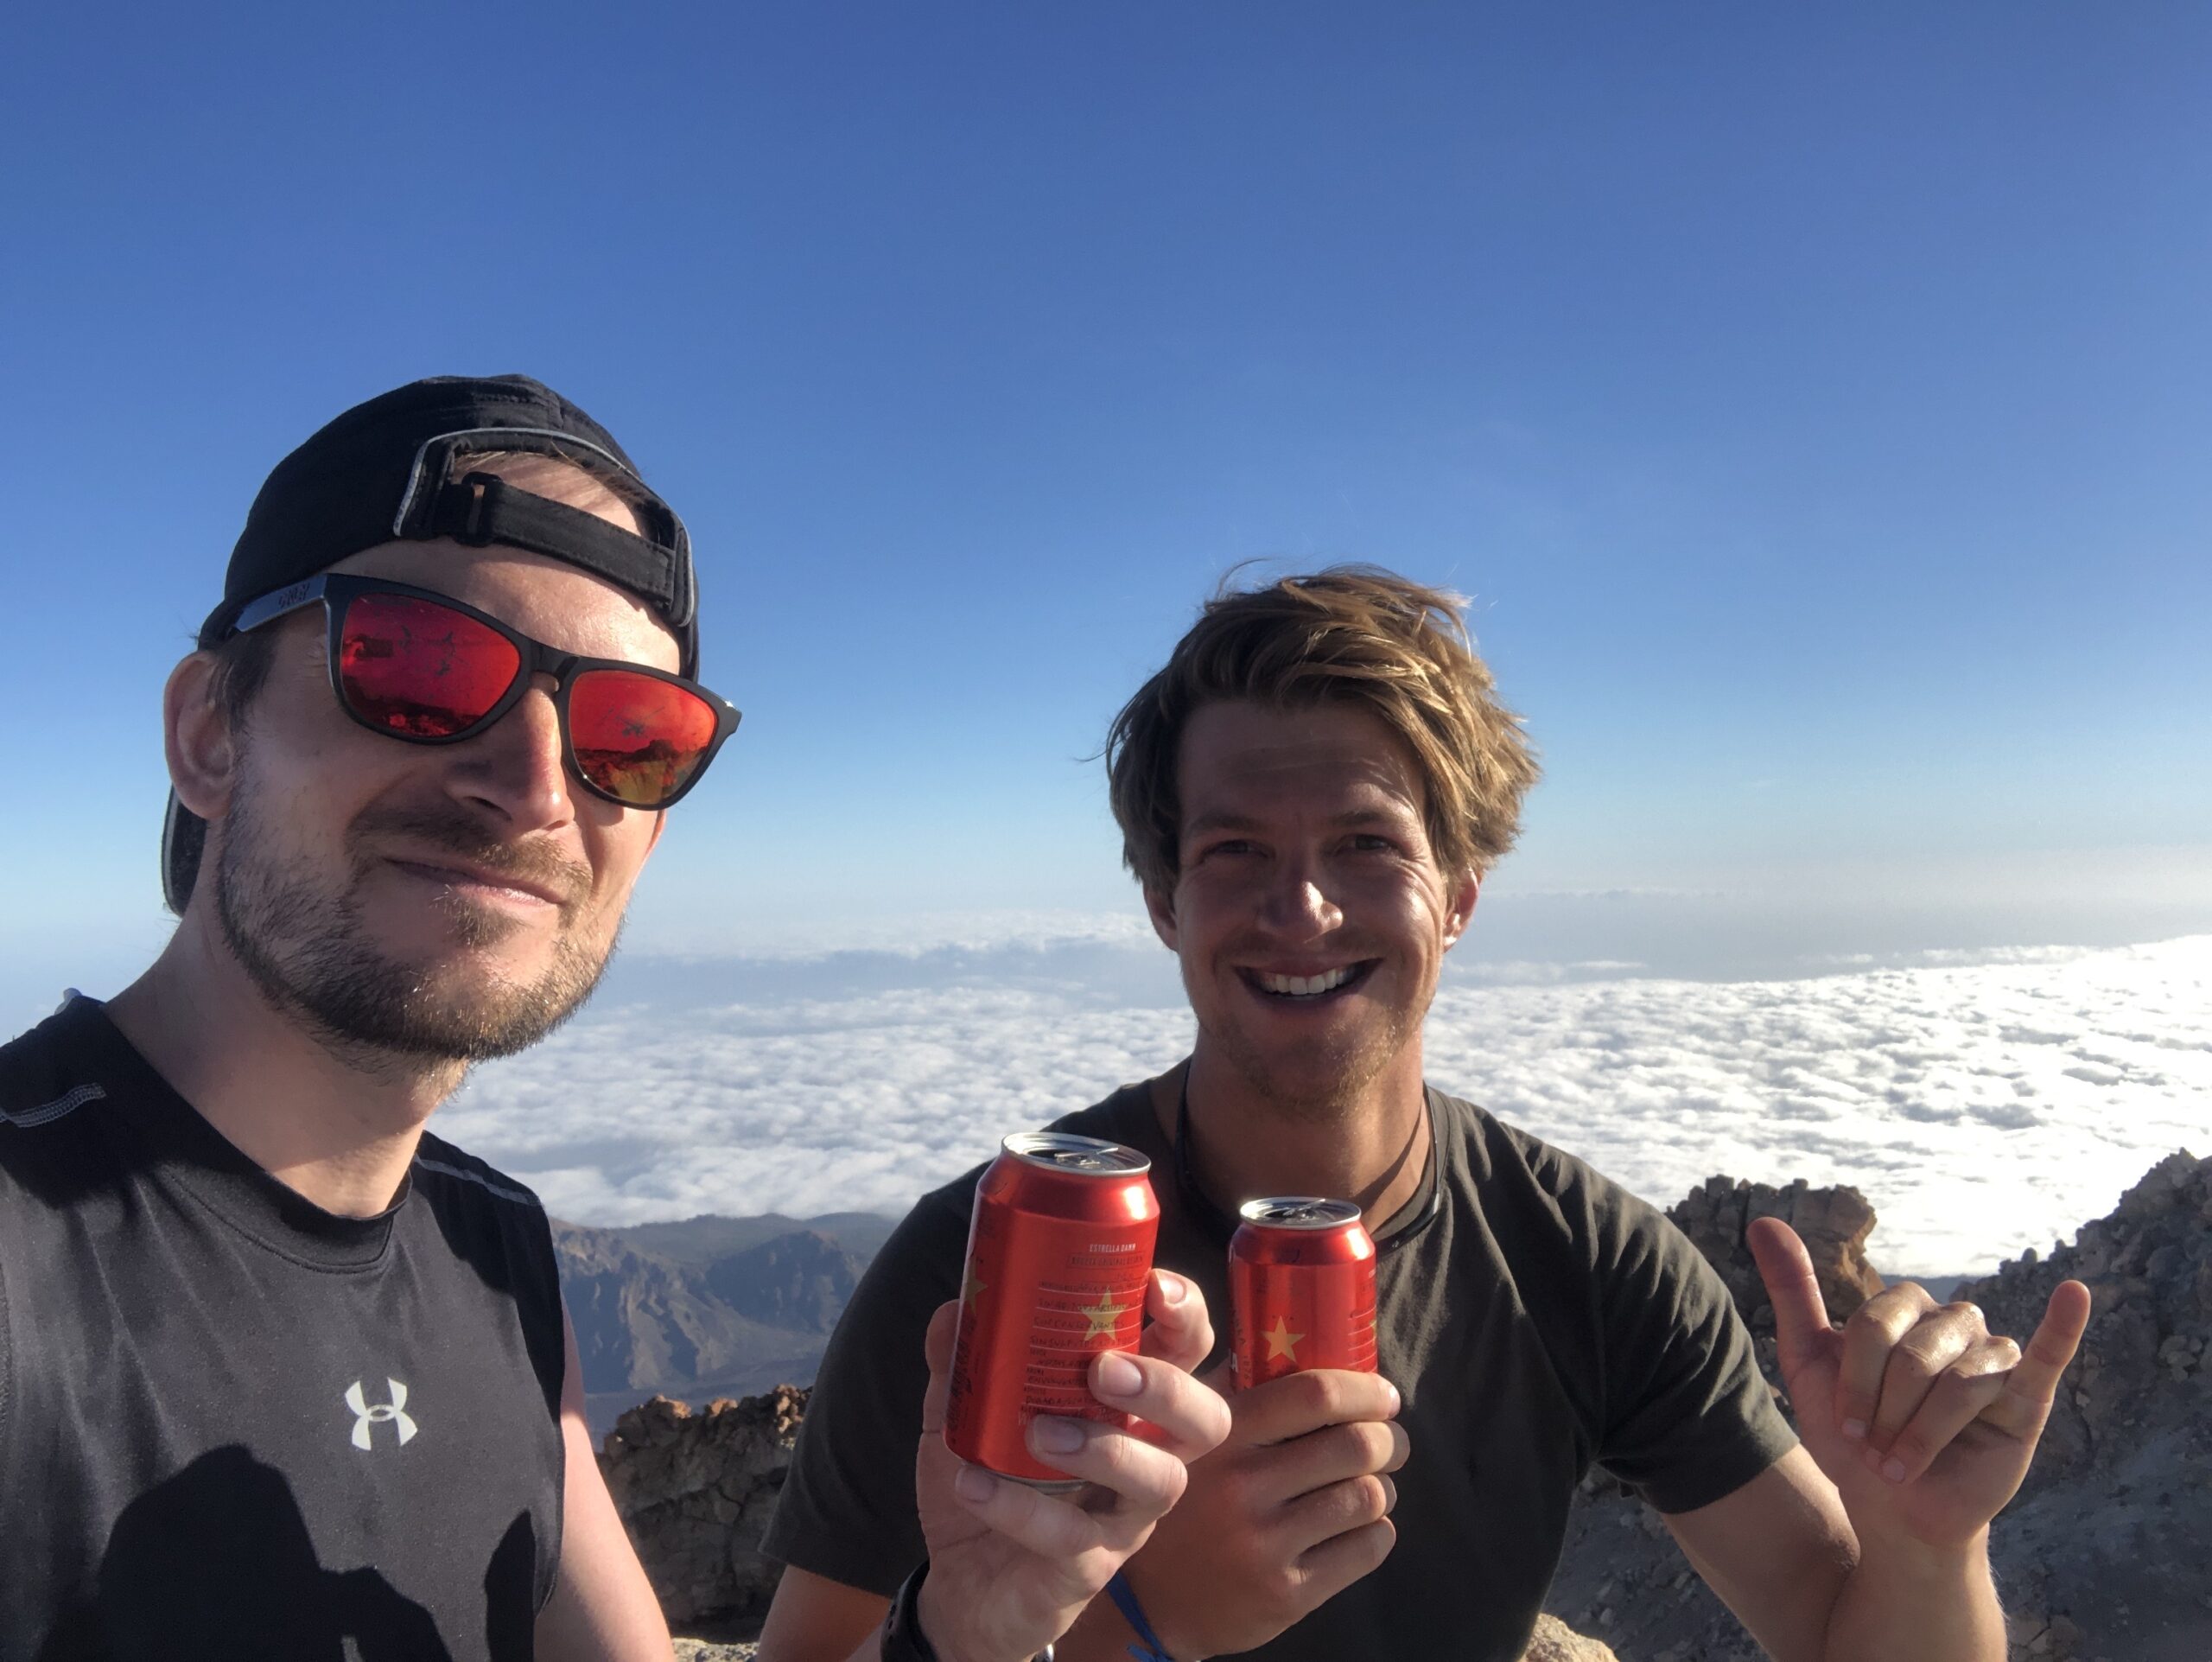
Victory Beer at the Summit
When to go
Best time to start the hike is around 4pm, reaching the ranger’s checkpoint just after 6pm, when he leaves his post.

Hiking Route
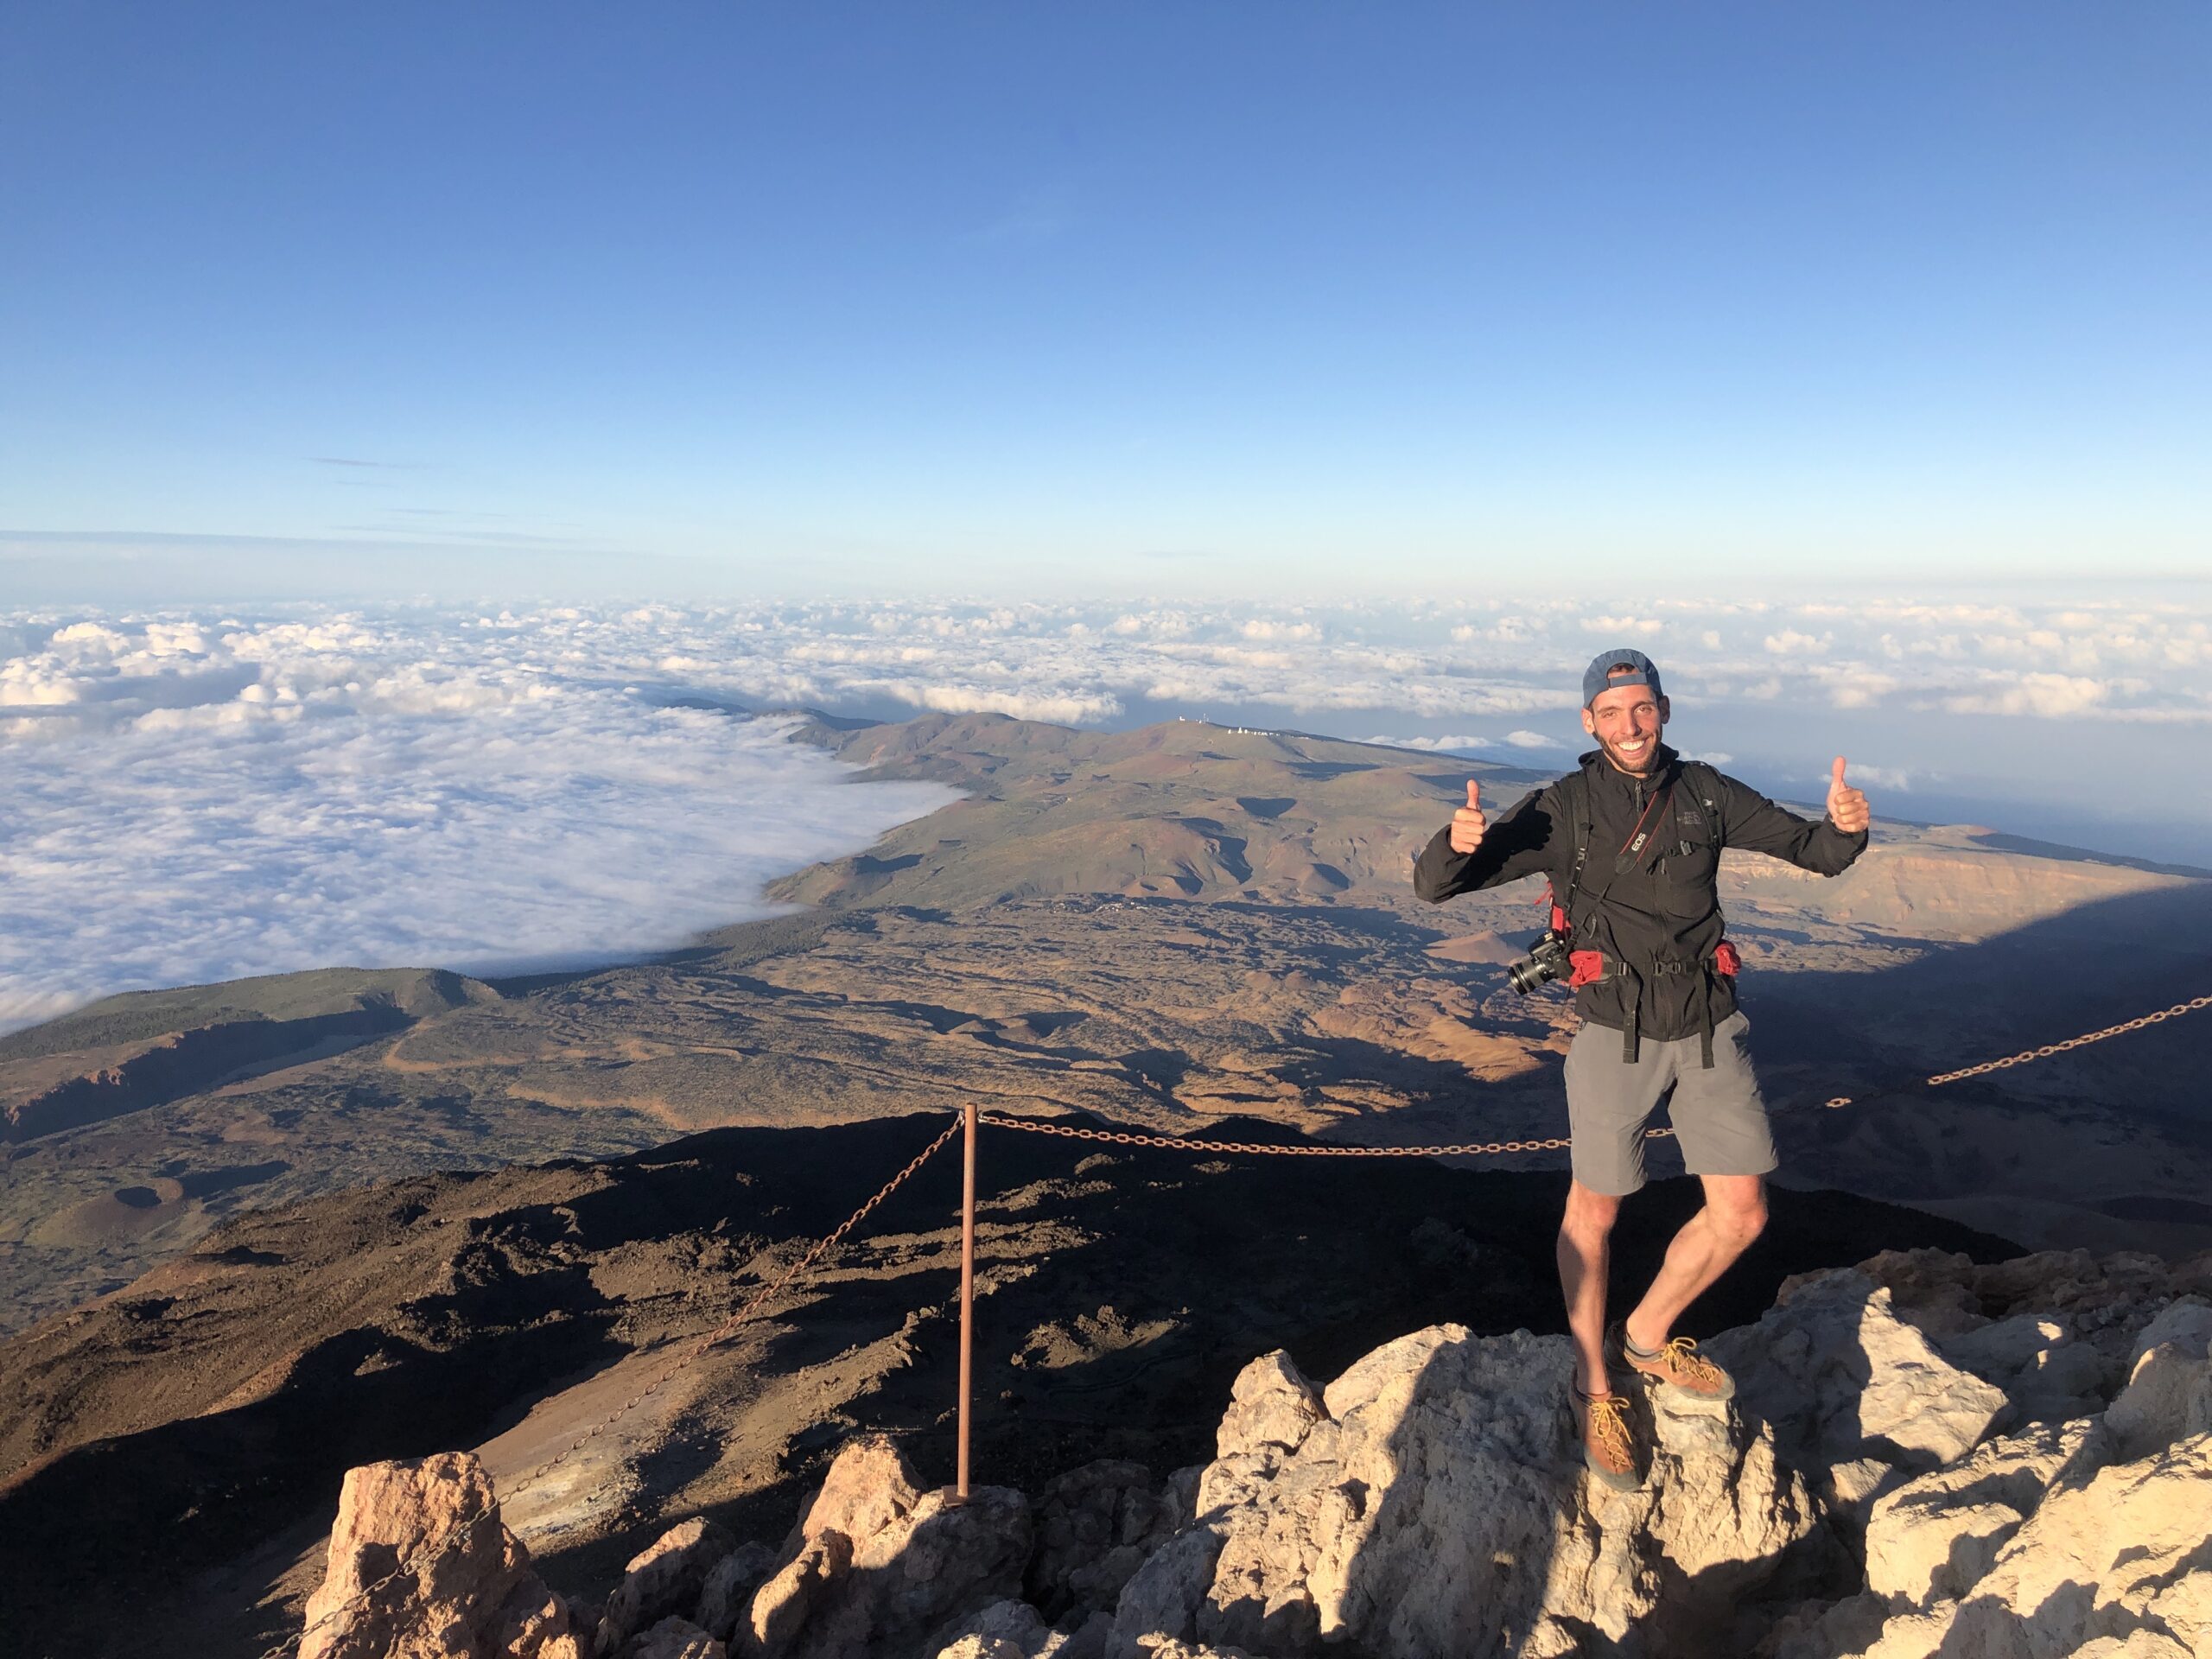
Ascent
Driving up to the hike’s starting point at 2300m already granted us some spectacular views of the island. Arriving at around 5pm, we have decided to take the shortest route, which is approximately a 17km return trip, taking around 5 hours altogether. First 400 meters were the hardest as we climbed through a pile of rubble that crumbled under each step, however right after the route joined with a proper trail that leads all the way to the summit. As easy as it may seem, it is good to bear in mind that ascending to an altitude of almost 4000m might cause nausea (which I fought by drinking beer at the summit).
What to expect
✓total distance: 17km, ✓hiking time: 5h, ✓elevation: 1427m
Blessing in disguise
As I was reaching the summit, I turned my camera on and the battery was of course flat (I did not use it for the last couple days, saving the battery for the highlight of my trip. Later I found out that my friend took some photos and forgot to turn the camera off…). I do not understand how this happened, but there was just one other hiker with exactly the same camera, who was so generous and lent me his battery for a fair number of shots. I must have some good karma.
My Saviour
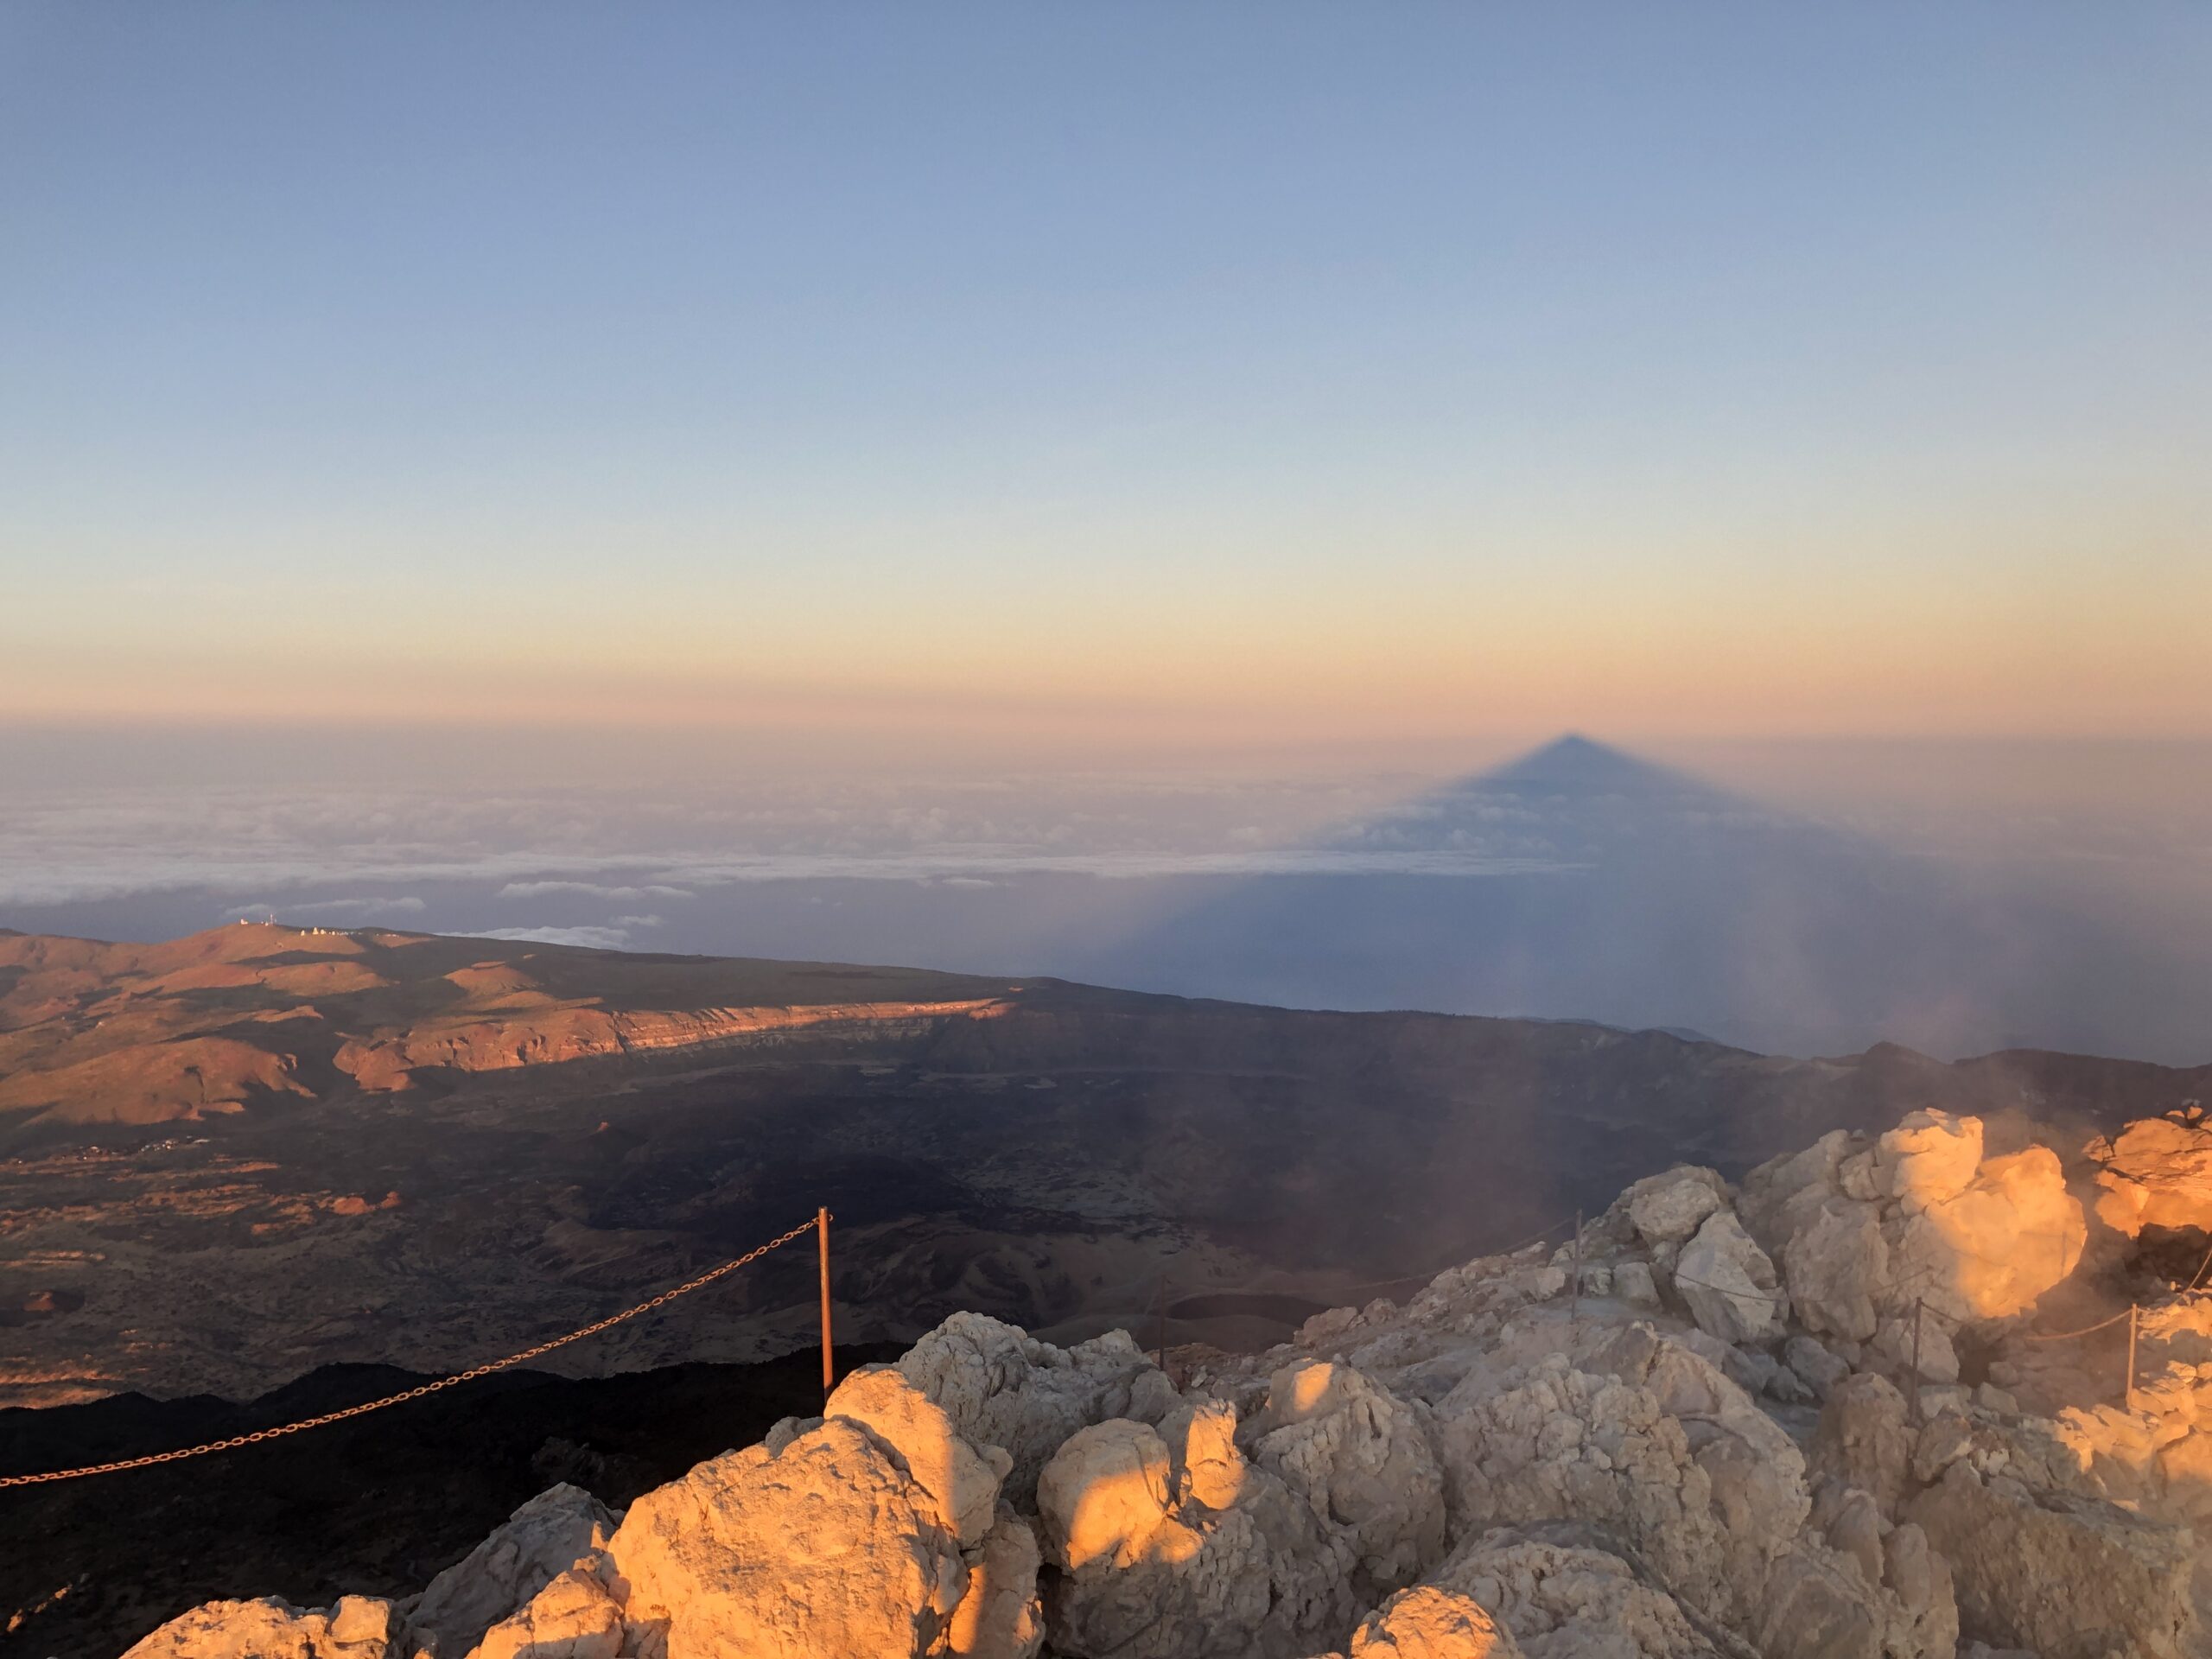
Triangular Shadow Cast by Teide
Summit
Reaching the Teide summit just before the sunset (in May, the sun sets between 8pm-9pm), we have witnessed an amazing spectacle of a kilometer long volcano shadow spanning across the horizon. Supposedly, it is the biggest shadow projected on the sea in the world – it is really, really big.
Descent
Way back was somehow easier than the way up, however beware of the last segment. Remember the rubble? It is much more tricky on the way down than on the way up. As I did not have ankle boots, I managed to twist my ankle, and more than once! As we descended back to the parking lot, it was already pitch black with a good opportunity to observe the sky.
Timelapse of Inversion
Conclusion
It is a rather easy hike, although if you are not used to higher altitude, you might suffer from headache and nausea. Take care of your ankles and use ankle boots, mind your step and you will do just fine. Oh, and one last thing – don’t forget to take water, it will help you fight the nausea.